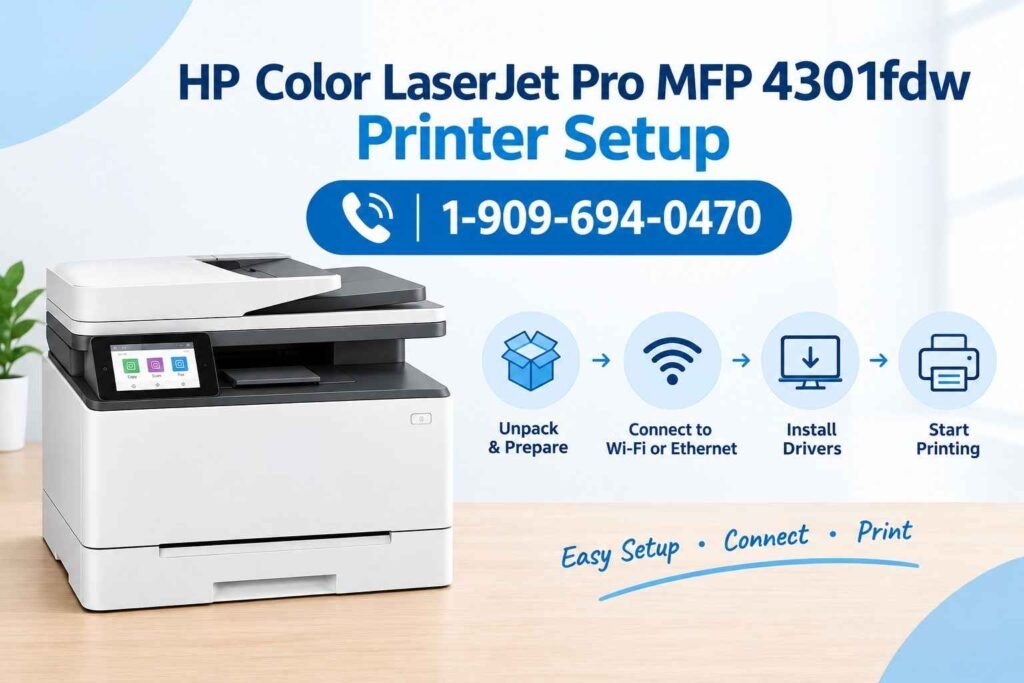
HP Color LaserJet Pro MFP 4301fdw printer
The HP Color LaserJet Pro MFP 4301fdw is a multifunction color laser printer designed for offices and businesses that need reliable printing, scanning, copying, and faxing capabilities. Setting up the printer correctly helps you connect it to your computer, configure its network settings, install the necessary software, and start printing documents efficiently.
If you are looking for instructions for HP Color LaserJet Pro MFP 4301fdw printer, this guide walks you through the complete process, from unpacking the printer to connecting it to Wi-Fi or Ethernet. It also covers driver installation, mobile printing, and common setup problems.
Follow these steps to configure your printer and prepare it for everyday use.
Understanding the HP Color LaserJet Pro MFP 4301fdw
Before starting the setup process, it is helpful to understand the printer’s main functions. The HP Color LaserJet Pro MFP 4301fdw supports printing, scanning, copying, and faxing. It also offers wireless and wired networking options, allowing users to print from compatible computers and mobile devices.
For a successful installation, prepare the following items:
- HP Color LaserJet Pro MFP 4301fdw printer
- Power cable supplied with the printer
- Compatible toner cartridges
- Plain paper
- Windows PC, Mac, or compatible mobile device
- Wi-Fi network name and password, if using wireless setup
- Ethernet cable, if using a wired network connection
Keep the printer’s setup documentation nearby, as it provides model-specific instructions for hardware installation and initial configuration.
Also Read: HP Smart Tank 5000 setup
Step 1: Unpack the Printer and Prepare the Hardware
Begin by unpacking your HP Color LaserJet Pro MFP 4301fdw carefully.
- Place the printer on a stable, level surface.
- Remove the external packaging and protective materials.
- Open the accessible doors and trays as instructed in the setup guide.
- Remove all shipping tape, cardboard, and protective inserts.
- Check the interior for any remaining packaging materials.
- Position the printer near a suitable power outlet and, if possible, within range of your wireless router.
Make sure there is enough space around the printer for ventilation, paper handling, and maintenance. Avoid placing it in an excessively humid or dusty area.
Do not connect the printer to power until you have removed the packaging materials and completed the initial hardware checks.
Step 2: Install the Toner Cartridges
The HP Color LaserJet Pro MFP 4301fdw uses color laser printing technology and requires compatible toner cartridges.
Follow these instructions to prepare the cartridges:
- Open the toner cartridge access door.
- Identify the cartridge positions.
- Remove the cartridges from their packaging.
- Remove any protective seals or shipping materials as directed by the included instructions.
- Match each cartridge to its designated position.
- Insert the cartridges carefully.
- Close the access door securely.
Avoid touching sensitive cartridge surfaces or forcing a cartridge into its slot. If a cartridge does not fit properly, remove it and check its orientation.
After installation, follow any instructions displayed on the printer’s touchscreen. The printer may need a short period to initialize its cartridges and internal components.
Step 3: Load Paper into the Input Tray
Once the cartridges are installed, prepare the paper tray.
- Open or pull out the appropriate input tray.
- Adjust the paper guides to match the paper size.
- Load a stack of clean, compatible paper.
- Make sure the paper is aligned and not curled or damaged.
- Keep the paper below the tray’s maximum fill line.
- Adjust the guides so they touch the paper without bending it.
- Return the tray to its normal position.
Check the control panel for paper size or tray configuration prompts. Select the correct size when requested.
Using properly loaded paper can reduce paper jams, feeding errors, and interruptions during printing.
Step 4: Power On the Printer
After completing the hardware installation, connect the printer to power.
- Connect the supplied power cable to the printer.
- Plug the other end into a suitable wall outlet.
- Press the Power button.
- Wait for the printer to complete its startup sequence.
- Follow the instructions shown on the touchscreen.
The initial startup may take longer than usual while the printer prepares its internal components.
If an error appears, read the message and resolve any cartridge, paper, or hardware issue before continuing. Do not repeatedly restart the printer if it displays a persistent error that requires attention.
Step 5: Connect the HP Color LaserJet Pro MFP 4301fdw to Wi-Fi
Wireless setup allows you to print from computers and compatible mobile devices connected to your local network.
To connect the printer to Wi-Fi:
- Turn on the printer.
- Open the wireless or network settings on its touchscreen.
- Select the wireless setup option.
- Wait for available wireless networks to appear.
- Select your Wi-Fi network.
- Enter the network password when prompted.
- Confirm the details.
- Wait for the printer to establish the connection.
Once connected, check the wireless status on the control panel.
Make sure you select the correct network and enter the password accurately. If the printer cannot connect, move it closer to the router and verify that the network settings support the printer.
For an office network that requires special authentication, you may need assistance from your network administrator.
Step 6: Connect the Printer Using Ethernet
If you prefer a wired network connection, you can connect the HP Color LaserJet Pro MFP 4301fdw to a compatible router or network switch using an Ethernet cable.
Follow these steps:
- Ensure the printer is switched on.
- Connect one end of the Ethernet cable to the printer’s network port.
- Connect the other end to an available router or network switch port.
- Wait for the network connection to initialize.
- Check the printer’s network settings for its connection status.
- Make sure your computer is connected to a network that can communicate with the printer.
An Ethernet connection can be useful in office environments where a stable wired connection is preferred.
You generally do not need to enter a Wi-Fi password when using Ethernet. However, the printer and computer must still be able to communicate across the network.
Step 7: Download and Install the Printer Driver
Installing the correct printer software allows your computer to communicate with the HP Color LaserJet Pro MFP 4301fdw.
For the safest installation, download the available software from HP’s official support website.
- Open a web browser on your computer.
- Visit the official HP Support website.
- Search for HP Color LaserJet Pro MFP 4301fdw.
- Open the support page for the exact printer model.
- Select your operating system if prompted.
- Review the available drivers and software.
- Download the compatible recommended package.
- Open the installer.
- Follow the on-screen instructions.
- Restart your computer if requested.
The available software may differ depending on your operating system and version.
Avoid downloading printer drivers from unknown websites. Using official software helps reduce the risk of installing incompatible or unwanted programs.
Step 8: Add the Printer to a Windows Computer
After installing the driver, add the printer to Windows.
- Open Settings.
- Select Bluetooth & devices.
- Click Printers & scanners.
- Select Add device.
- Wait while Windows searches for available printers.
- Choose the HP Color LaserJet Pro MFP 4301fdw when it appears.
- Follow any remaining instructions.
If Windows cannot find the printer, confirm that it is powered on and connected to Wi-Fi or Ethernet. Make sure the computer is connected to the same accessible network.
You can also use the official HP installer to discover and configure the printer.
After installation, open your document and select the HP Color LaserJet Pro MFP 4301fdw from the printer list.
Step 9: Set Up the Printer on a Mac
Mac users can add the printer through macOS settings.
- Open the Apple menu.
- Select System Settings.
- Choose Printers & Scanners.
- Click the option to add a printer.
- Wait for the printer list to appear.
- Select the HP Color LaserJet Pro MFP 4301fdw.
- Confirm the available software selection.
- Complete the setup.
Menu names may vary slightly depending on your macOS version.
If the printer does not appear, check its network connection and make sure your Mac can access the same local network. If necessary, consult HP’s official support instructions for your operating system.
Step 10: Configure Mobile Printing
You can print from a compatible smartphone or tablet after connecting the printer to your network.
To configure mobile printing:
- Connect your mobile device to the appropriate Wi-Fi network.
- Install or open the official HP app if required.
- Follow the instructions to add the printer.
- Allow the app to discover the HP Color LaserJet Pro MFP 4301fdw.
- Select a document or photo.
- Review the available print settings.
- Send the print job.
Depending on your mobile device, its built-in printing service may also be supported.
If the printer does not appear in the app, verify that your phone and printer can communicate over the local network. Guest networks or router security settings may prevent devices from discovering each other.
Step 11: Print a Test Page
After completing the installation, print a test page to verify that the printer is working correctly.
On Windows, open Settings > Bluetooth & devices > Printers & scanners, select your printer, and locate the available test-page option.
You can also open a document and print a simple page.
Check the output for:
- Clear and readable text
- Correct color reproduction
- Proper alignment
- Correct paper size
- Missing colors or unusual streaks
If the test page prints successfully, the basic printer setup is complete.
Common HP Color LaserJet Pro MFP 4301fdw Setup Problems
Some users may experience problems while configuring their printer. The following solutions can help resolve common issues.
Printer Not Detected
Confirm that the printer is powered on and connected to Wi-Fi or Ethernet. Check that the computer can communicate with the printer over the network. Restarting the printer and router may help resolve temporary connection problems.
Printer Connected but Not Printing
Check that the correct printer is selected in your application. Clear any stuck print jobs and make sure the printer does not display an error. If necessary, update or reinstall the printer software.
Wi-Fi Connection Failed
Verify the wireless network name and password. Move the printer closer to the router and review your network settings. If the printer was previously connected to another network, configure its wireless connection again.
Driver Installation Failed
Make sure the software is compatible with your operating system. Download the recommended package from HP’s official support website and follow the installation instructions carefully.
Poor Print Quality
Check the paper type, print settings, and toner cartridge status. If the output has missing colors or streaks, follow the maintenance instructions provided by HP for your printer model.
Conclusion
Setting up the HP Color LaserJet Pro MFP 4301fdw printer involves unpacking the hardware, installing toner cartridges, loading paper, connecting to Wi-Fi or Ethernet, and installing the appropriate software.
After setup, add the printer to your computer or compatible mobile device and print a test page to confirm that everything works correctly.
If you experience connection or installation problems, check the network settings, verify that the correct printer is selected, and install compatible software from HP’s official support website.
Following these steps will help you configure the HP Color LaserJet Pro MFP 4301fdw for printing and its other supported functions, making everyday document management easier at home or in the office.